Check three things before you buy
A disposal swap or first-time install depends on power, space and the drain. You need an outlet or a switched, hardwired connection under the sink, enough room below the sink for the unit, and a standard 3.5 to 4.5 inch sink opening. If there is no power under the sink, adding it is electrical work that a licensed electrician should handle.
Horsepower and feed type shape how the unit behaves day to day. A bigger motor grinds more and runs quieter, while a continuous-feed model runs on a wall switch and takes scraps as you go.
| Option | Best for | Trade-off |
|---|---|---|
| 1/3 horsepower | Small households with light use | Jams more easily on tougher scraps |
| 1/2 horsepower | Most families | Balanced size and noise |
| 3/4 horsepower or more | Heavy cooking and larger families | Costs more and takes more cabinet space |
| Continuous feed | Everyday use with a wall switch | Needs a switch or a hardwired circuit |
| Batch feed | Homes with small children | Runs only with the stopper locked in place |
Measure the cabinet before you shop. Most disposers are 12 to 15 inches tall, and a deep sink with a drawer or a water filter under it can leave little clearance. Hold a tape measure from the sink bottom to the cabinet floor and subtract the height of the trap you plan to reuse.
What is inside the mounting assembly
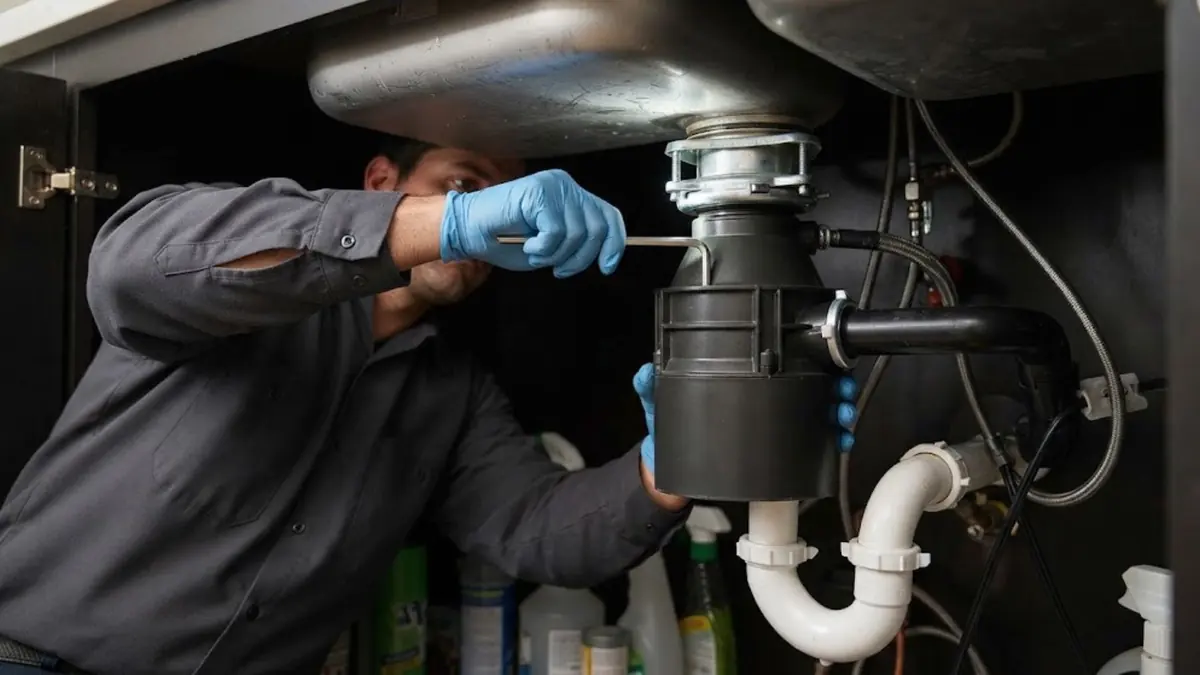
The mounting assembly is the set of pieces that holds the disposer under the sink. It includes the sink flange, a rubber gasket, a backup ring, a mounting ring and a snap ring. Plumber's putty seals the flange to the sink bowl from above, and the ring set locks the flange from below.
Most of the weight hangs from these parts, so the rings must be seated fully and the three mounting screws tightened evenly. A crooked assembly leaks around the flange, and the leak shows up days later as a soft cabinet floor.
Rather have a plumber look at it?
Describe the problem on the phone and ask for a same-day appointment when one is available.
Installing the disposal, one stage at a time
Turn off power and remove the old parts
Switch off the breaker for the sink circuit, not just the wall switch. Disconnect the trap, the old disposal if there is one, and the old flange, then scrape off the old putty from the sink opening.
Seat the new flange
Roll a rope of plumber's putty and press it around the underside of the flange, then set the flange in the opening. From below, slip on the gasket, backup ring and mounting ring and snap them in place. Tighten the screws evenly and wipe off the putty squeeze-out.
Knock out the dishwasher plug
If a dishwasher drain hose will connect to the unit, knock out the plug inside the disposer's dishwasher inlet with a hammer and screwdriver. Fish the plug out of the chamber. This step is easy to miss, and the dishwasher will not drain without it.
Hang the disposer and connect the discharge
Lift the unit onto the mounting ring and turn it until it locks. Attach the discharge tube with its gasket, line it up with the trap arm, and tighten the slip nuts by hand and then a quarter turn.
Make the electrical connection and test
If you have a cord, plug it into a GFCI-protected outlet under the sink. If the unit is hardwired, the wires connect inside the cover plate according to the maker's sheet. Run cold water, flip the switch and check every joint for drips.
Practical tip
Run the dishwasher through a short cycle after the install. If water backs up into the sink or the dishwasher stays full, the knockout plug is probably still in place or the hose is not looped high enough. Catching it now is a five-minute fix.
Plan for noise and vibration too. A unit that touches the cabinet wall or a pipe hums through the whole kitchen, so keep a finger of space around the body and let the rubber mount do its job. Anti-vibration pads and an insulated sleeve inside the cabinet help on a thin-walled sink base.
Where installs go wrong
- Forgetting to remove the dishwasher knockout plug, so the dishwasher cannot drain.
- Skipping the trap realignment. The new discharge height rarely matches the old trap, and a rushed fit leaves a slow leak.
- Using too little putty or over-tightening the mounting screws, which warps the flange.
- Wiring a hardwired unit without turning off the correct breaker.
- Installing the unit on a drain that already clogs. A disposal sends more debris into the line, so a slow drain should be fixed first.
When a plumber or electrician should take over
Call for help if the sink has no power nearby, if the trap arm is corroded, or if the drain line backs up before the disposal ever runs. A disposal adds grind and solids to the line, and a weak drain shows it quickly. We cannot see into the wall or the main line, and we will say so if a camera look is the next step.
Our garbage disposal repair and installation service covers new installs, jams and leaks at the flange. While the cabinet is empty, check the supply lines and handles too, since a dripping tap above the disposer can mean a faucet repair is due at the same visit.
Park Forest note: fats, oils, wipes and disposal care
The Village of Park Forest flooding page follows Metropolitan Water Reclamation District guidance not to flush or pour fats, oils, wipes or paper towels. A disposal grinds food, but it does not make grease safe, because grease cools and coats the pipe farther downstream. Scrape pans into the trash, wipe greasy plates with a paper towel and put the towel in the garbage, not down the sink.
The Village is also replacing wastewater lines and notes that sewers can back up into basements during urban flooding. That makes everyday habits matter more, since a line that is half-coated with grease has less room during heavy rain. For daily care, run cold water before, during and for 15 seconds after grinding. Properties near Matteson or Chicago Heights have their own local sewer rules, so ask that village or city if you are installing there.
Questions we hear
Yes, if you have power under the sink and the drain parts line up. The tasks are mounting, plumbing and wiring. If wiring or a corroded trap is involved, bring in a licensed electrician or plumber.
It is a thin plastic or metal plug inside the disposal's dishwasher inlet. If you connect a dishwasher, you must knock it out with a hammer and screwdriver and remove the piece from the chamber. Skipping it blocks the dishwasher drain.
This article covers a single sink. Double bowls need a continuous waste tee and tailpiece, which adds parts and alignment steps. Check the layout first.
Grease, oil, coffee grounds in bulk, fibrous stalks like celery, potato peels in large amounts, bones, and non-food items. They clog the line or jam the blades.
The Village points residents to Metropolitan Water Reclamation District guidance not to flush or pour fats, oils, wipes or paper towels. Treat the disposal the same way, and put cooking grease in a sealed container in the trash.
The Village points residents to Metropolitan Water Reclamation District guidance not to flush or pour fats, oils, wipes or paper towels. Treat the disposal the same way, and put cooking grease in a sealed container in the trash.
Standards and sources
Written by the Park Forest Express Plumbing team. Plumbing work in Illinois follows the Illinois Plumbing Code, 77 Ill. Adm. Code 890, which the Village of Park Forest adopts. Local statements on this page come from Village of Park Forest pages, and the Building Department states that a permit is required whether you or a contractor does the work. Before you hire anyone, check the license on the Illinois Department of Public Health license verification tool.